


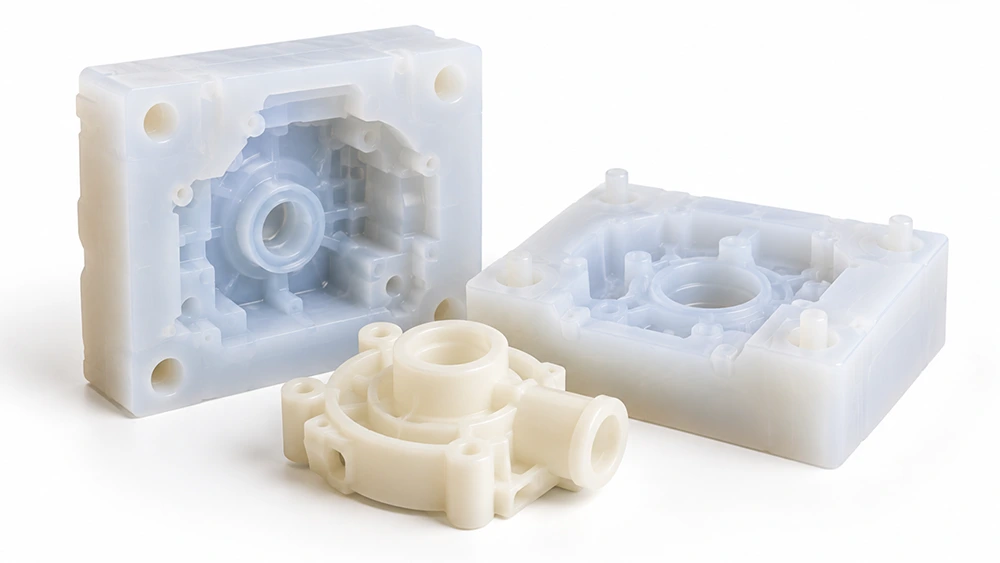
Making a silicone mold typically involves preparing a master pattern, building a mold box, mixing and pouring liquid silicone rubber, allowing it to cure, and removing the master. A test casting is then performed to check the mold’s quality. With the right materials and proper techniques, you can create a reusable silicone mold. This guide covers the complete process, the tools you’ll need, and solutions to common problems.
1. What Is a Silicone Mold?
A silicone mold is a flexible mold made from cured liquid silicone rubber. It reproduces the shape of an original object, known as the master pattern, to create a cavity for casting.
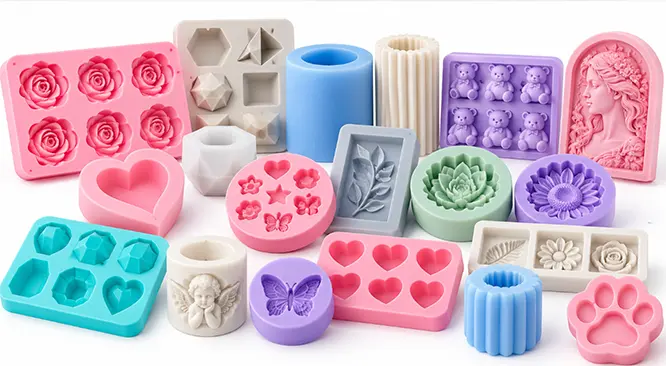
Silicone molds are flexible, capture fine details, and allow for easy demolding. They are commonly used to make resin products, models, decorative items, and industrial prototypes.

2. What Materials and Tools Do You Need to Make a Silicone Mold?
Before getting started, gather the silicone rubber, master pattern, and basic tools. Making a simple one-piece mold usually doesn’t require specialized equipment.
| Material or Tool | Main Purpose |
| Liquid silicone rubber | Forms the mold body, typically consisting of a base and curing agent |
| Master pattern | Provides the shape to be replicated; can be an existing object or a 3D-printed model |
| Mold box | Holds the master pattern in place and contains the liquid silicone |
| Digital scale or measuring cup | Measures silicone components according to the specified weight or volume ratio |
| Mixing cup and stirring stick | Used to mix the silicone base and curing agent |
| Sealer and mold release agent | Seal porous surfaces or prevent sticking, depending on the master material |
| Hot glue or other fastening materials | Secure the master pattern and seal gaps in the mold box |
| Vacuum degassing equipment (optional) | Helps remove air bubbles from liquid silicone |
| Protective gloves | Prevent direct skin contact with the materials |
When selecting silicone rubber, consider its hardness, tear strength, working time, and curing time. Always refer to the manufacturer’s technical data sheet for specific properties and mixing ratios.
3. How to Make a Silicone Mold: Step by Step
The following steps explain how to make a simple one-piece silicone mold, from preparing the master pattern to completing the first test casting.
Step 1: Select and Prepare the Master Pattern
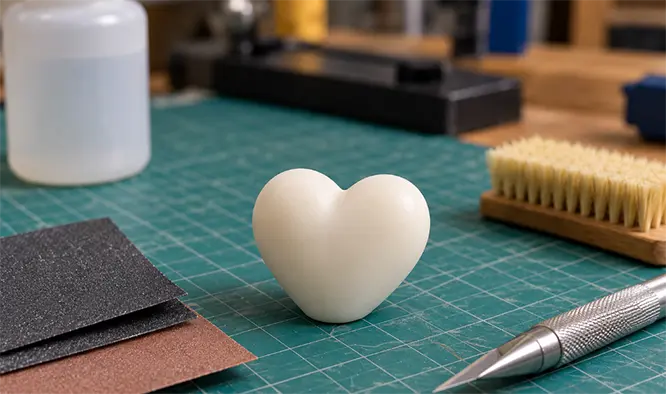
The master pattern determines the mold’s shape and surface quality. You can use an existing part, a handmade model, or a 3D-printed object.
Before starting, remove dust, oil, and burrs from the surface. Sand the master if necessary. Porous materials such as wood and plaster should be sealed, and a mold release agent may be needed depending on material compatibility.

Step 2: Build and Secure the Mold Box
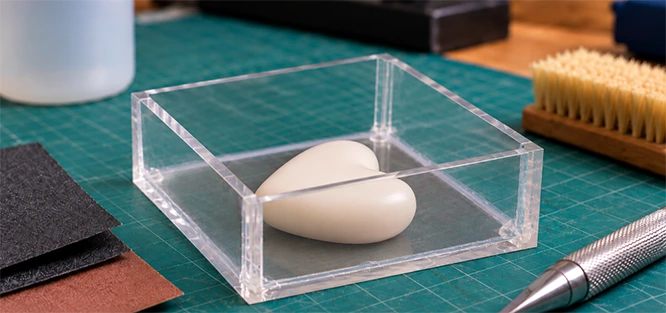
Build a mold box using acrylic sheets, a plastic container, or another suitable material. Secure the master pattern to the bottom so it won’t shift or float during pouring.
Leave enough space around the master for adequate silicone wall thickness. For small molds, a clearance of approximately 10–15 mm can serve as a starting point, depending on the mold geometry. Finally, seal all joints and gaps to prevent leaks.

Step 3: Measure and Mix the Liquid Silicone Rubber
Carefully measure the silicone base and curing agent according to the manufacturer’s specified mixing ratio, whether by weight or volume.
Pour both components into a clean container and mix slowly, scraping the bottom and sides to ensure thorough blending. Avoid excessive stirring, which can introduce air bubbles. Use vacuum degassing equipment if needed.
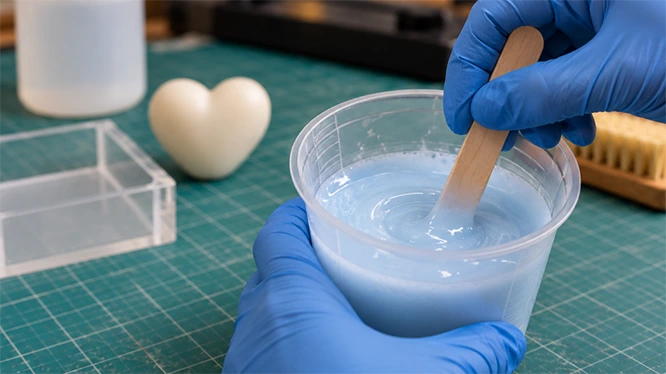

Step 4: Pour the Silicone Into the Mold Box
Slowly pour the mixed silicone into one side of the mold box, allowing it to flow naturally and gradually cover the master pattern.
Maintain a thin, steady stream rather than pouring directly onto intricate features. For areas with grooves or fine details, applying a thin initial layer of silicone can help prevent trapped air bubbles.
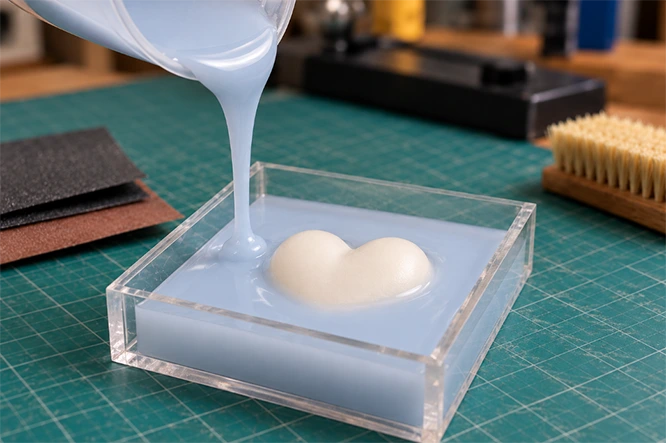

Step 5: Allow the Silicone to Cure Completely
Place the mold box on a flat, stable work surface and let the silicone cure for the time specified by the manufacturer.
Avoid moving the mold box or touching the silicone during curing. Curing times vary depending on the material. Make sure the silicone has fully cured before demolding to prevent deformation.
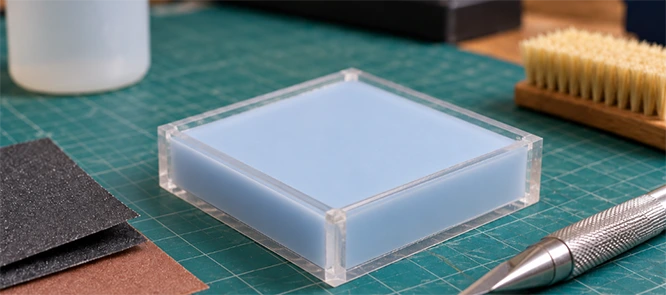

Step 6: Demold and Remove the Master Pattern
Once the silicone has fully cured, remove the mold box. Gently flex the silicone mold and carefully release the master pattern.
Avoid overstretching thin walls or delicate features. If the master cannot be removed directly, carefully cut the mold along a preplanned parting line.
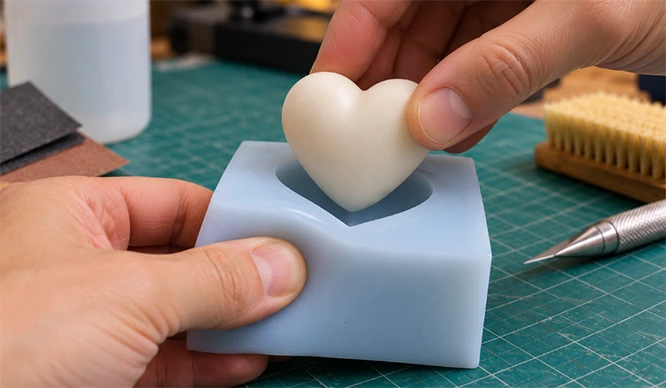

Step 7: Inspect the Mold and Perform a Test Casting
Inspect the mold cavity for air bubbles, cracks, or uncured areas.
If no obvious defects are found, perform a test casting using a compatible resin. Once cured and demolded, compare the casting with the master pattern for shape, details, and dimensions. If the replica is accurate and the mold remains undamaged, the silicone mold has been successfully made.
4. Common Silicone Mold Making Problems and Solutions
Common problems when making silicone molds include air bubbles, incomplete curing, tearing during demolding, and distorted castings. Most of these issues are related to mixing ratios, master pattern preparation, or pouring techniques.
| Common Problem | Possible Cause | Solution |
| Air bubbles on the mold surface | Air introduced during mixing or trapped in recesses of the master | Mix slowly, pour from a low point, and use vacuum degassing if necessary |
| Silicone fails to cure completely | Incorrect mixing ratio, insufficient mixing, or cure inhibition caused by incompatible materials | Verify the mixing ratio, mix thoroughly, and test material compatibility beforehand |
| Mold tears during demolding | Insufficient wall thickness, low tear strength, or deep undercuts | Increase mold thickness, select suitable silicone, and improve the parting design |
| Rough mold surface | Scratches, layer lines, or pores on the master pattern | Sand and seal the master pattern |
| Mold deformation | Silicone is too soft, lacks support, or is overstretched during demolding | Choose an appropriate hardness and add a rigid support shell if necessary |
| Incomplete castings | Insufficient filling or trapped air in the cavity | Improve pouring techniques and add vent channels where needed |
5. What Can You Make With Silicone Molds?
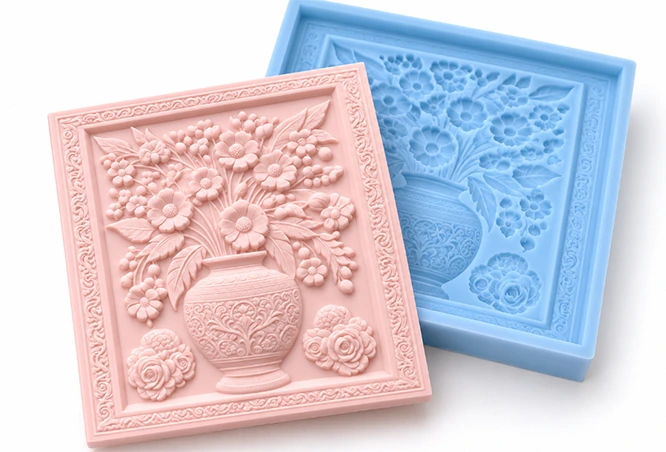
Silicone molds can reproduce objects with various shapes and fine surface details. Depending on the silicone and casting materials used, they are suitable for a wide range of applications.
Resin Casting
Silicone molds are commonly used to make jewelry, models, decorative items, and small plastic housings. Liquid resin fills the mold cavity and cures, reproducing the master pattern’s fine textures and appearance.


Wax Casting
They can be used to make candles, decorative wax pieces, and wax patterns for investment casting. Make sure the silicone can withstand the pouring temperature of the molten wax.

Plaster and Decorative Castings
Silicone molds are often used for sculptures, architectural ornaments, reliefs, and small art models. Their flexibility makes it easier to release castings with intricate surface details.

Industrial Prototyping
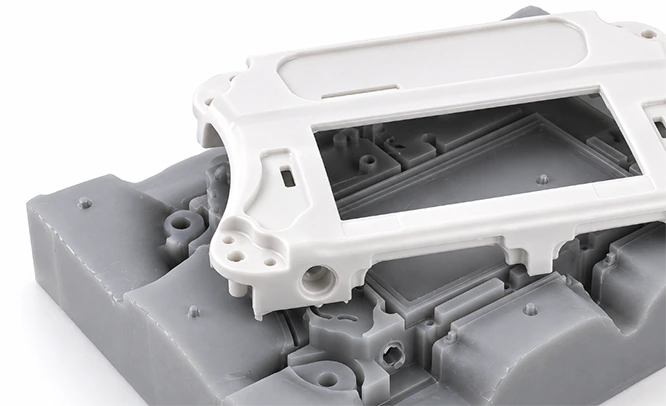
Silicone molds can reproduce product housings, functional prototypes, and low-volume plastic parts. They are useful for design validation and testing before investing in production tooling.

6. Applications of Silicone Molds in Industrial Vacuum Casting
Silicone molds are widely used in industrial vacuum casting, particularly for product prototyping and low-volume plastic parts production.
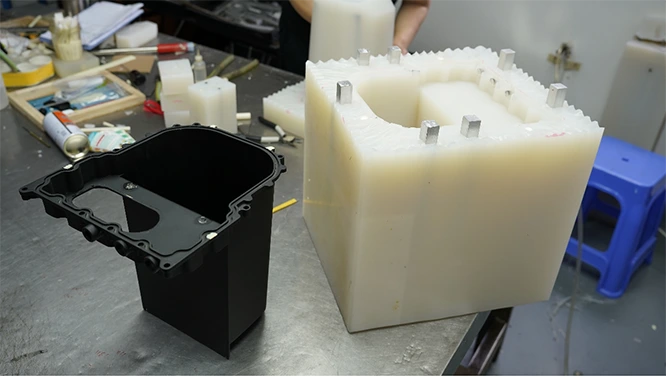
The typical process begins with creating a master pattern using 3D printing or another suitable method. Liquid silicone is then used to form the mold cavity, followed by casting polyurethane resin under vacuum. Once cured, the plastic replica is removed from the mold.
Compared with manual resin casting, industrial vacuum casting places greater emphasis on bubble control, dimensional consistency, and finished-part quality. Silicone molds also have relatively short production lead times, making them suitable for product development and low-volume trial production. However, they gradually wear with repeated use.

For higher production volumes or applications requiring greater manufacturing efficiency, dimensional precision, and material performance, injection molding with metal tooling may be a better option.
FAQs
Q1: Can You Make Silicone Molds at Home?
Yes. You can make small silicone molds using liquid mold-making silicone, a simple mold box, and basic tools. Always follow the manufacturer’s instructions and safety precautions.
Q2: How Long Does It Take to Make a Silicone Mold?
Preparing and pouring a simple mold can usually be completed within a few hours. However, curing time depends on the silicone formulation and may range from a relatively short period to a full day or longer.
Q3: Do You Need a Vacuum Chamber to Make Silicone Molds?
Not necessarily. For simple molds, slow mixing and careful pouring can help minimize air bubbles. Vacuum degassing is more useful for complex molds or applications requiring higher precision.
Q4: Can You Use 3D-Printed Models to Make Silicone Molds?
Yes. Both FDM and SLA prints can be used as master patterns. However, surface imperfections should be addressed, and material compatibility must be checked to prevent cure inhibition.
Q5: How Many Times Can You Reuse a Silicone Mold?
It depends on the silicone material, part geometry, and casting resin. Some molds can be used for dozens of casts or more, but there is no fixed number of uses that applies to every mold.