
PMMA or acrylic is frequently used in different manufacturing projects. Both names refer to the same chemical material. This is a transparent polymer—commercially referred to as acrylic glass or plexiglass—which is used as a lightweight substitute to standard glass.
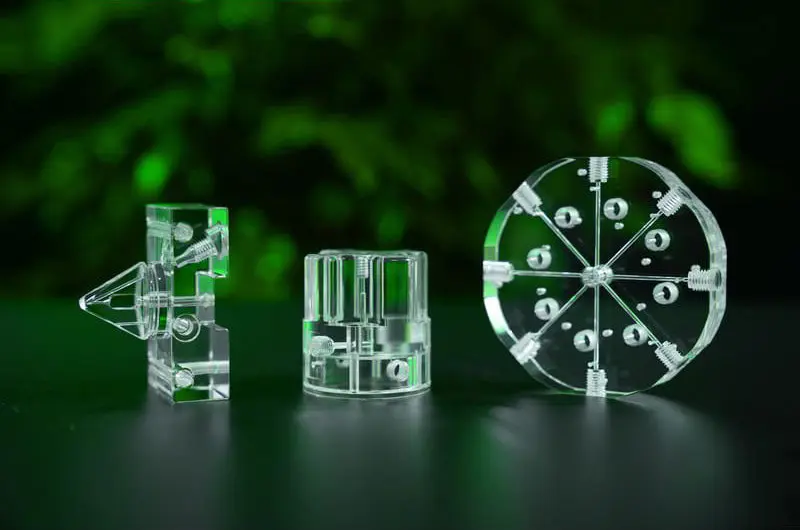
This blogpost discusses the performance of PMMA in injection molding, cnc machining and 3D printing. By the end you will have a useful reference for selecting acrylic in your engineering or design work.
CNC Machining Acrylic—Tool Choice, Feeds, Heat Control & a Flawless Finish
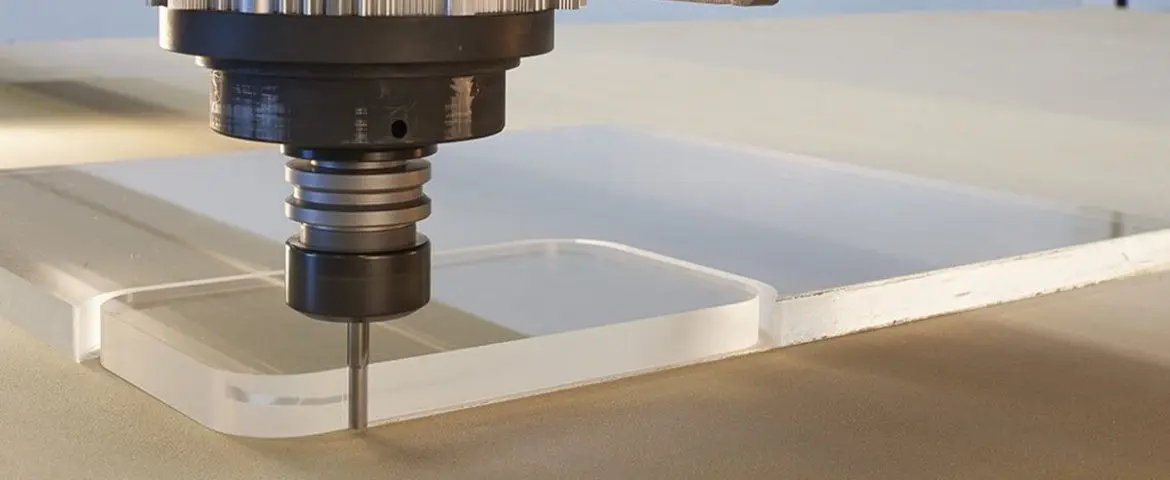
· Cast or Extruded Acrylic sheets? How to Decide Between the Two
Acrylic sheets differ in performance based on how they are made; the choice between cast and extruded types affects both quality and machinability.
Cast acrylic (PMMA) generally produces cleaner results, with less risk of chipping, melting or internal stress. Manufacturers create cast sheets by polymerizing liquid monomer inside molds. This process gives the sheets outstanding optical clarity and higher molecular weight.liquid monomer
Extruded PMMA sheets—which are obtained by forcing the molten acrylic through dies—offer better tolerance to thickness but are less strong with higher internal stress. For machining, thick parts or demanding uses, always prefer cast acrylic. Select extruded acrylic when the consideration of cost outweighs performance like in laser-cut signage or non-structural decorative panels.
· Cutting Tools
Extremely sharp, high-shear tools like single-flute or O-flute end mills are recommended when working with PMMA; using dull tools causes cracks. Also, carbide options handle abrasive acrylic better than high-speed steel.
In drilling, it is recommended to choose acrylic specific bits or just dull conventional bits to avoid clinging or cracking of material. In turning or fly cutting, sharpen your tools to about 5° rake and 2° clearance in order to have smooth controlled cuts.
· Speeds & Feeds
Having effective management of heat is important. If the feeds are too slow or the RPMs are too high it will lead to melting and re-welding. Medium RPMs (10,000-15,000) with higher feed rates usually achieve clean chips and low temperatures.
When you see “fluffy spiral chips,” it a sign that the settings are right. If chips melt or turn powdery, adjust the feed or speed. Do not use slotting, but use trochoidal lines or pecking to create an escape route of chips.
· Clearing Chips & Keeping the Work Cool
Air blasts or vacuums are commonly used to take away chips; recutting of chips damages the finish and generates heat. Avoid using flood coolant because it can be risky. Instead, use water or air-mist cooling with a mild soap lubricant. Operators should also take a break when machining thick Acrylic (PMMA) to prevent any internal stress caused by heat build-up.
· Preventing Stress and Hairline Cracks
PMMA parts should be supported securely. When drilling, work slowly and back out the bit often to let it cool. In tapping, tap it slowly, apply plastic safe fluids or thread-mill to avoid stressing the materials. Radiused internal corners and properly deburred sharp edges also help minimize stress-riser points.radiused internal corners
· Annealing After Machining
After machining, anneal parts at about 80°C for two hours and then let them cool slowly to room temperature. The thicker parts take more time to heat and are slow to cool down. You should particularly cure those sections that are exposed to bonding, solvents or the atmosphere to be reliable in the long term.
· Edge Finishing & Polish for Optical Clarity
To wet-sand machined edges, start at 320 grit and moving up to 1000 grit for smoothness. After sanding, use a buffing wheel with a mild compound to restore optical clarity. Also, apply gentle pressure to avoid thermal stress. Flame polishing gives edges a glassy look, but annealing afterward is recommended to relieve surface tension.
By using correct feed rates, sharp tools and effective cooling, you can achieve glass-clear CNC acrylic parts every time. PMMA is regularly machined for light guides, enclosures and lab components, and the results look outstanding.
Injection Molding Considerations for Acrylic or PMMA
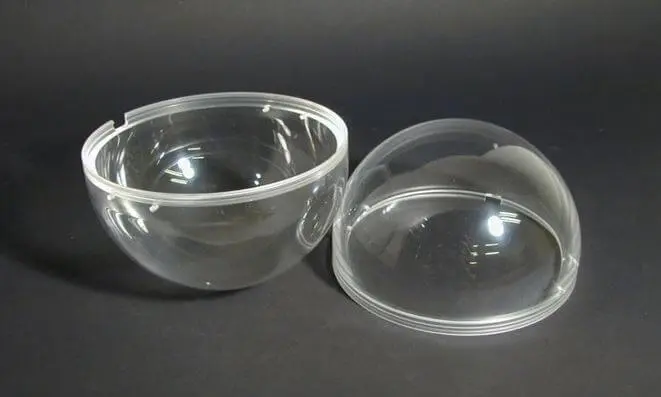
Acrylic injection molding needs a more precise control as compared to machining, especially because the resin is sensitive to moisture and temperature. The following is the way PMMA is handled in molding setups.
· Drying the Resin
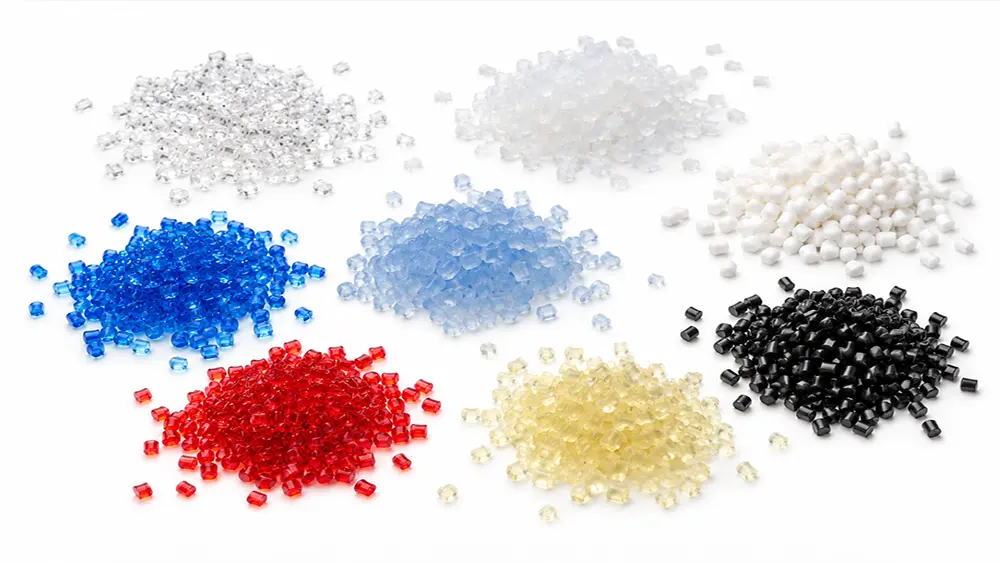
Always dry PMMA pellets at a temperature of 80 to 90 °C and allow the drying to last 2–4 hours before the molding process. This step removes moisture from the pellets. Even a small amount of moisture may cause splay (bubbles or streaks) and reduce the strength or optical clarity of the part. A desiccant dryer is used to reach a residual moisture content below 0.02%. This ensures the resin is in the proper condition for molding.temperature of 80 to 90 °C
· Melt Temperature
You need to choose the melt temperature according to the PMMA grade. Flow grades require lower temperatures whereas tougher grades need higher ones. A melt temperature of 230–250 °C is normally used and varies with grade. The rear barrel zones stay near 200 °C and the temperature at nozzle is raised to 240 °C. This keeps the melt consistent.
Remember: Overheating may cause burning and underheating may cause voids, poor flow, or visible flow lines in the parts.
· Mold Temperature
The temperature of the mold should be always chosen within the range of 50–80 °C to produce an optimum stress relief and high quality surface finish. With optical parts, 70 °C molds are far more realistic in detail and clarity than low temperature molds. Cooler molds may be faster in cycling, but they have poor surface gloss and usually experience high internal stress.
· Injection & Packing
Engineers at RJC Mold use a slow injection speed to avoid jetting. After that, steady packing pressure is applied to fill the mold completely and control shrinkage. Acrylic shrinkage is minimal (0.2-0.5%) and therefore controlling the dimension is easier than semi-crystalline plastics. Mold designers still continue to consider a 0.5 percent down-sizing of mold designs and include precise optic adjustments where needed.
· Gating & Venting
Choose large gates like edge or fan types to prevent shear and avoid gate freeze-off. Also make sure that there is proper venting (approximately 0.05 mm deep) to prevent air traps, burns or dieseling in parting lines. Sudden changes in thickness may induce internal stress and therefore the design of parts should maintain uniformity in the wall sections.gate freeze-off
· Mold Release & Demolding
Polished molds give accurate detail for acrylic or PMMA parts. However, do add draft angles and radii to help with part ejection. Pinning acrylic on delicate or sharp surfaces is not recommended because it can crack under pressure during ejection. The spray to release the mold is not a necessity and you hardly need it as long as the geometry of the parts and polish are done right.
· Post Mold Annealing
If parts will be bonded or exposed to chemicals, you should anneal them at 70–80 °C for 2 to 4 hours. This process relieves stress and prevents crazing which comes from fine cracks caused by residual stress. Annealing is not always required in case of thin parts, but it should not be skipped for optical or thick parts.
These are some main practices that you need to follow in order to achieve professional-grade acrylic (PMMA) parts. Despite being less tough than polycarbonate, acrylic when adequately molded can be used successfully in the lenses, diffusers and medical parts.
Related Blog Post: Custom PMMA Injection Molding
3D Printing with PMMA– What Works, What doesn’t
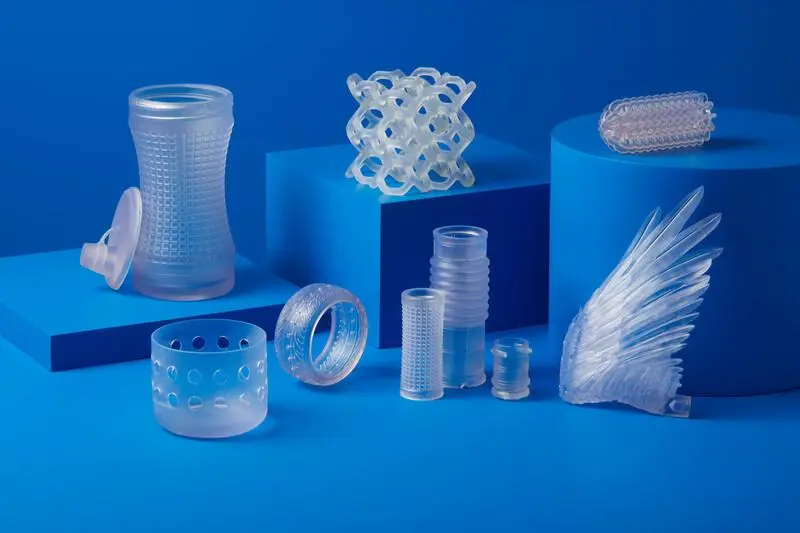
You can 3D print acrylic using PMMA filament for FDM or acrylic-like resins for SLA/DLP. Both options need specific settings.
· PMMA Filament (FDM)
PMMA filament is printed at 240-255 °C, and the heated bed is set to 100–110 °C. It requires enclosed chambers because without them, warping is likely to occur. The speed of the print is reduced to 20 to 30mm/s, and layers of 0.1 mm or finer are used to enhance the print quality. Keep fans off to avoid cooling problems.
After printing, parts are annealed at 60–70 °C to relieve stress. The prints are hard, UV resistant and fairly clear. Surface finish can be improved by wet sanding or using acetone for solvent-smoothing.
Limitation
PMMA breaks easily and produces fumes; this is why proper ventilation is required. Avoid using thin walls or snap-fit features. To improve adhesion you can add brims or use glue. PMMA is hard to machine but the end product is strong and weatherproof.
· Acrylic-Like Resin (SLA/DLP)
When fine detail and high clarity are required, SLA printers with PMMA-like resins are used. These materials harden into clear, rigid parts that look like cast acrylic. After printing, the part goes for post-process. This includes wet sanding, polishing or adding a clear coat to reach optical quality. Engineers set layer heights between 50 and 100 µm, limit curing to avoid yellowing and position parts to reduce visible support marks.
Limitations
Even though these resins provide an excellent surface finish and resolution, they are highly brittle. UV resistance is not always consistent – choose stabilized resins where necessary. SLA is particularly applicable in the development of microfluidic devices, lenses and fiber optics.
FDM with PMMA makes it possible to produce strong semi-clear components. The SLA resins on the other hand, offer unsurpassed transparency to complex forms. The decision has to be based on the targeted strength, look and resolution.
Bonding PMMA and Dealing with Solvents—Keeping Chemicals from Ruining the Part
While joining acrylic parts, use solvent welding with methylene chloride or special acrylic cements. These methods create strong & nearly invisible joints. For structural bonds or joining different materials, two-part acrylic adhesives like Weld-On 40 are used. Before bonding, the parts should always be annealed to stop stress cracks from forming.solvent welding
Acrylic is resistant to water, dilute acid, weak alkalis and the majority of detergents. Nonetheless, it is easily soluble in strong solvents such as acetone, toluene and chlorinated hydrocarbons. It should be washed with light soap or acrylic-safe cleaners. To keep acrylic assemblies clear and durable, use proper bonding to reduce internal stress and avoid harsh solvents.
Acrylic (PMMA) vs Polycarbonate (PC)—When to Pick One Over The Other
| Property | PMMA (Acrylic) | Polycarbonate (PC) |
| Chemical Resistance | Handles mild cleaners without issue | Reacts to solvents and is more sensitive |
| Clarity & Gloss | Delivers the highest gloss and superior transparency | Shows a slight haze & less shine |
| Scratch Resistance | Provide a harder surface and resists scratches | Softer material that scratches more easily |
| Formability | Need heat to bend due to its rigidity | Can bend cold and is more flexible |
| Impact Strength | Remains rigid but may crack under force | Withstands impacts and resists breaking |
| Best For | Used in displays, lenses and signage | Suited for fixtures, guards and parts exposed to impact |
Main Takeaways:
- Acrylic (PMMA) is preferred when high clarity, UV resistance, glossy finishing and easy machining of visual parts or display are required.
- Polycarbonate is the better choice when excellent flexibility, toughness and protection are required in places exposed to heavy loads, impact or high temperature.
For applications where impact resistance matters more than optical clarity, comparing acrylic with polycarbonate can help identify the more suitable material choice.
DFM Checklist for Acrylic Parts
- Keep wall thickness uniform by using large fillets or radii and avoid creating sharp corners at holes.
- For machined light pipes or windows, leave extra material to be polished off later, secure the part gently in the machine and always anneal the part afterward.
- For molded optical parts, control gate vestige, use higher mold temperatures to achieve gloss, and apply liner films early to protect surfaces.
These processes are according to standard OEM requirements regarding machining and forming PMMA parts.
Case studies
Here are several examples that show how to select and process acrylic (PMMA) for different manufacturing methods.
Machining a Clear, Rigid Cover or Lens
Start with cast PMMA that has already been stress-relieved. After CNC machining the part to precise dimensions, polish the surfaces and flame-finish the edges when needed. The part undergoes annealing, if long-term clarity is required. Cast acrylic gives very low internal stress, best optical quality and outstanding edge finishes.
High Volume Clear Parts with Glossy Appearance
In the case of large production volumes of transparent materials, PMMA injection molding is used under very tight settings i.e. extensive drying, hot mold temperature and steel tooling to regulate shrinkage and provide clarity. PMMA works very well for producing optical-grade parts in large quantities.
A Transparent Prototype Packed with Detail
For rapid prototypes that need both detailed geometry as well as transparency, select a clear “PMMA-like” SLA resin. The parts are printed using fine layer heights. After printing, the surfaces are sanded and polished, then a clear coat is added to reach near-optical clarity. SLA is most effective with complex designs which would be tricky or costly to machine or mold out of acrylic.“PMMA-like” SLA resin
To Sum Up
Acrylic can give outstanding strength, clarity and reliable performance in molding, machining or printing when handled correctly. By matching the process to the material’s best properties you will see strong results.
If you need custom acrylic or PMMA parts, RJC Mold is the best option. The team is available anytime.RJC Mold
Related Questions
What is the purpose of PMMA in optical applications like the lenses or light guides?
PMMA has a refractive index of 1.49 and therefore allows 92% of the visible light to pass through, unlike the glass at the same thickness. It is a low-birefringence material that is a perfect choice to use in the field of precision optics, diffusers and light pipes.
What is PMMA’s UV resistance compared to other transparent plastics?
PMMA stands up well to UV exposure and keeps its optical clarity for many years outdoors. Polycarbonate, in contrast, often yellows over time. This is why PMMA is an optimal solution to the outdoor signage, skylights and light fixtures.
Is it possible to laser cut or engrave PMMA and what should be considered?
The CO2 lasers are very effective with PMMA, giving smooth edges and no further finishing is required. Nevertheless, the heat-affected region may cause internal stress when subsequently bonded or solvent treated, so annealing after laser cutting is usually recommended.
Can coatings improve PMMA’s scratch or chemical resistance?
Yes. Hard-coat or plasma finishes are often used to increase the resistance to abrasion especially on displays or lenses. For better resistance to solvents, plasma-enhanced or siloxane coating could considerably increase the service life.